
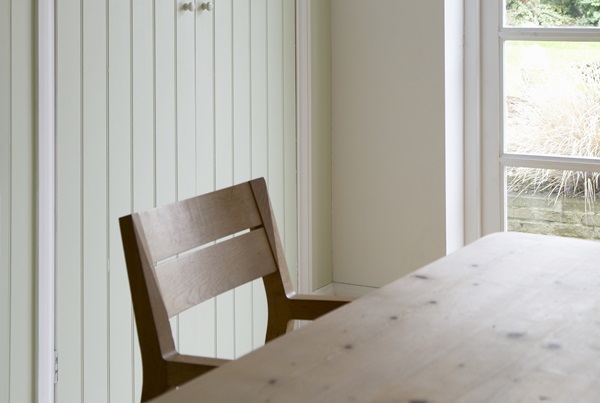
Wall panelling has made a big comeback in home design, and it’s easy to see why. It adds character, depth, and a polished finish to any space—whether you’re after a period-style elegance or a sleek, modern touch. If you’re considering wood panelling for your home, it’s a fantastic way to enhance both style and function.
Beyond aesthetics, panelling is also incredibly practical. It helps cover up imperfections, improves insulation, and adds durability to your walls. With so many styles to choose from—whether it’s classic wooden panelling or contemporary slatted designs—you can create anything from a cosy, rustic look to a bold feature wall.
The best part? You don’t need to be a professional to pull it off. With the right tools, a bit of patience, and a clear plan, you can transform a room in just a weekend. Let’s get started.
Choosing the right style
Before you begin, think about the overall look you want to achieve. Different styles of panelling create different effects, so it’s worth considering what suits your space best:
Shaker-style panelling – Simple, clean lines that work well in both traditional and modern interiors. Great for bedrooms and living rooms.
Beadboard panelling – Narrow vertical planks with small grooves (or ‘beads’), perfect for adding a cosy, cottage-style feel to kitchens and bathrooms.
Board and batten panelling – Wide panels with vertical battens for a bold, structured look. A popular choice for hallways and feature walls.
Slatted panelling – A contemporary option that adds texture and even improves acoustics, ideal for modern spaces.
Once you’ve chosen your style, it’s time to gather your materials.
What you’ll need
1. Measure and plan
Good measurements make all the difference between a professional-looking finish and a wonky mess. Grab a tape measure and note down your wall’s dimensions. Sketch out your design on paper or use masking tape to mark where the panels will go. If you’re going for a grid-style layout, double-check your spacing before cutting anything.
2. Gather your materials
MDF (medium-density fibreboard) is a popular choice for DIY panelling—it’s affordable, smooth, and easy to work with. Here’s what you’ll need:
✔ MDF panels (pre-cut or cut to size)
✔ Strong adhesive (e.g. No More Nails)
✔ Decorator’s caulk
✔ Primer and paint
✔ A saw (mitre saw or hand saw)
✔ Sandpaper
✔ A spirit level
✔ A caulking gun
✔ Paintbrush and roller
3. Prepare the wall
Before attaching anything, get the wall ready. Remove nails, picture hooks, or anything else in the way. If the surface is rough, sand it lightly to help the adhesive bond properly. A smooth surface makes for a much neater finish.
Step-by-step guide to installing wall panelling
Step 1: Cut your panels
Using your measurements, mark out your panels on the MDF and cut them to size. If you have a mitre saw, this step will be quicker, but a hand saw works too—just take your time. Sand down any rough edges for a smooth finish.
Step 2: Attach the panels
Apply grab adhesive to the back of each panel and press it firmly onto the wall. Start with the vertical panels, using a spirit level to make sure they’re straight. Once those are in place, add the horizontal pieces, ensuring even spacing.
If you want extra reinforcement, you can use nails or screws, but in most cases, a strong adhesive will do the trick. Hold each panel in place for a few seconds to ensure a firm bond.
Step 3: Fill the gaps
Once the adhesive has dried, fill any gaps between the panels and the wall with decorator’s caulk. Smooth it over with your finger or a caulking tool for a seamless finish.
Step 4: Prime and paint
Now for the fun part—painting! MDF absorbs paint quickly, so apply a primer first to create an even base. Once it’s dry, use a brush for the panel edges and a roller for larger sections. Two coats of paint should give you a professional-looking finish.
Finishing touches and maintenance
Once the paint has dried, take a step back and admire your work—you’ve just given your space a stylish upgrade without the designer price tag!
To keep your panelling looking fresh, dust it regularly and wipe it down with a damp cloth when needed. If scuffs or marks appear, keep a small pot of leftover paint handy for quick touch-ups.
Final thoughts
Wall panelling is one of those DIY projects that delivers maximum impact with minimal cost. Whether you want to add classic charm or a modern feature, it’s an easy way to elevate your home.
And if you’re feeling a little unsure, check out a few video tutorials before you get started. Just be warned once you’ve done one wall, you’ll probably want to do the rest of the house!




Leave a Comment